

A Practical Guide to Roof Flashing Problems

A roof can have shingles that look perfectly fine from the street and still leak around a chimney, vent, wall, or skylight. That is where this guide to roof flashing matters. Flashing is the material that directs water away from the roof’s most vulnerable transitions. When it is installed correctly, it quietly does its job for years. When it fails, a small opening can send water into decking, insulation, ceilings, and walls.
For homeowners and property managers in the Katy and greater Houston area, flashing deserves attention after high winds, hail, driving rain, or any roof repair. Catching a flashing problem early is usually far less disruptive than dealing with a stained ceiling or damaged interior later.
What Roof Flashing Does
Roof flashing is typically made from metal, though some roof systems use specialized membranes or other compatible materials. It is placed where roofing materials meet something else: a vertical wall, a pipe, a chimney, a valley, a skylight, or an edge.
Shingles are designed to shed water across an open roof field. They are not designed to seal every corner, joint, and penetration on their own. Flashing fills that gap by creating a controlled path for water to move downhill and off the roof.
The key is overlap. Properly installed flashing works with gravity. Water should pass over each layer rather than behind it. If the laps face the wrong direction, fasteners are exposed, sealant is relied on as the main defense, or the metal is bent out of place, water can find its way underneath.
Common Types of Roof Flashing
Most property owners do not need to identify every piece of flashing from the ground, but knowing the main locations makes an inspection report easier to understand.
Step Flashing at Walls and Chimneys
Step flashing consists of individual metal pieces woven between shingle courses where a roof meets a sidewall or chimney. Each piece directs water onto the shingle below it. It is one of the most important details on a shingle roof because it handles a lot of runoff during heavy rain.
At a chimney, step flashing is often paired with counterflashing. Counterflashing covers the top edge of the base flashing and helps keep water from getting behind the system. Mortar cracks, loose counterflashing, and improper repairs around chimneys are common sources of leaks.
Pipe Boot Flashing
Plumbing vents and other round penetrations need boots that fit tightly around the pipe and integrate with the shingles. These boots may use metal, rubber, or a combination of both. Sun exposure can dry and crack rubber collars over time, while storm debris can bend metal flanges.
A pipe boot issue may look minor from the roof, but it can cause a steady leak directly into an attic. If you see a stain near a bathroom, laundry room, or kitchen vent line, the roof penetration above it should be checked.
Valley, Drip Edge, and Skylight Flashing
Valleys carry water from two roof slopes into one channel. They need carefully installed flashing or an approved valley system beneath the shingles. Because valleys handle concentrated water flow, worn materials or lifted shingles there should not be ignored.
Drip edge protects the roof edge and guides water into the gutter instead of behind the fascia. Skylights use a coordinated flashing kit designed for the specific unit and roofing material. A skylight leak is not always a failed skylight. The surrounding flashing may be the real problem.
Signs Your Flashing May Need Attention
Not every flashing problem announces itself with a major leak. Some warning signs are visible indoors, while others show up on the roof after a storm.
Watch for water stains on ceilings or upper walls, peeling paint, damp insulation in the attic, musty odors, or discoloration near a chimney or skylight. Outside, look for loose shingles near roof penetrations, rusted or lifted metal, cracked sealant, exposed nail heads, damaged pipe boots, and debris collecting in valleys.
Wind-driven rain can reveal weaknesses that a normal shower does not. That is why a roof may seem fine for months, then leak during one hard Texas storm. The location of the interior stain can help, but it does not always point directly to the source. Water can travel along decking or framing before it becomes visible below.
Why Flashing Fails
Age is one reason, especially for rubber boots and older sealant. But many failures come down to installation details. Flashing can be too short, improperly lapped, fastened in the wrong location, or paired with materials that do not work well together.
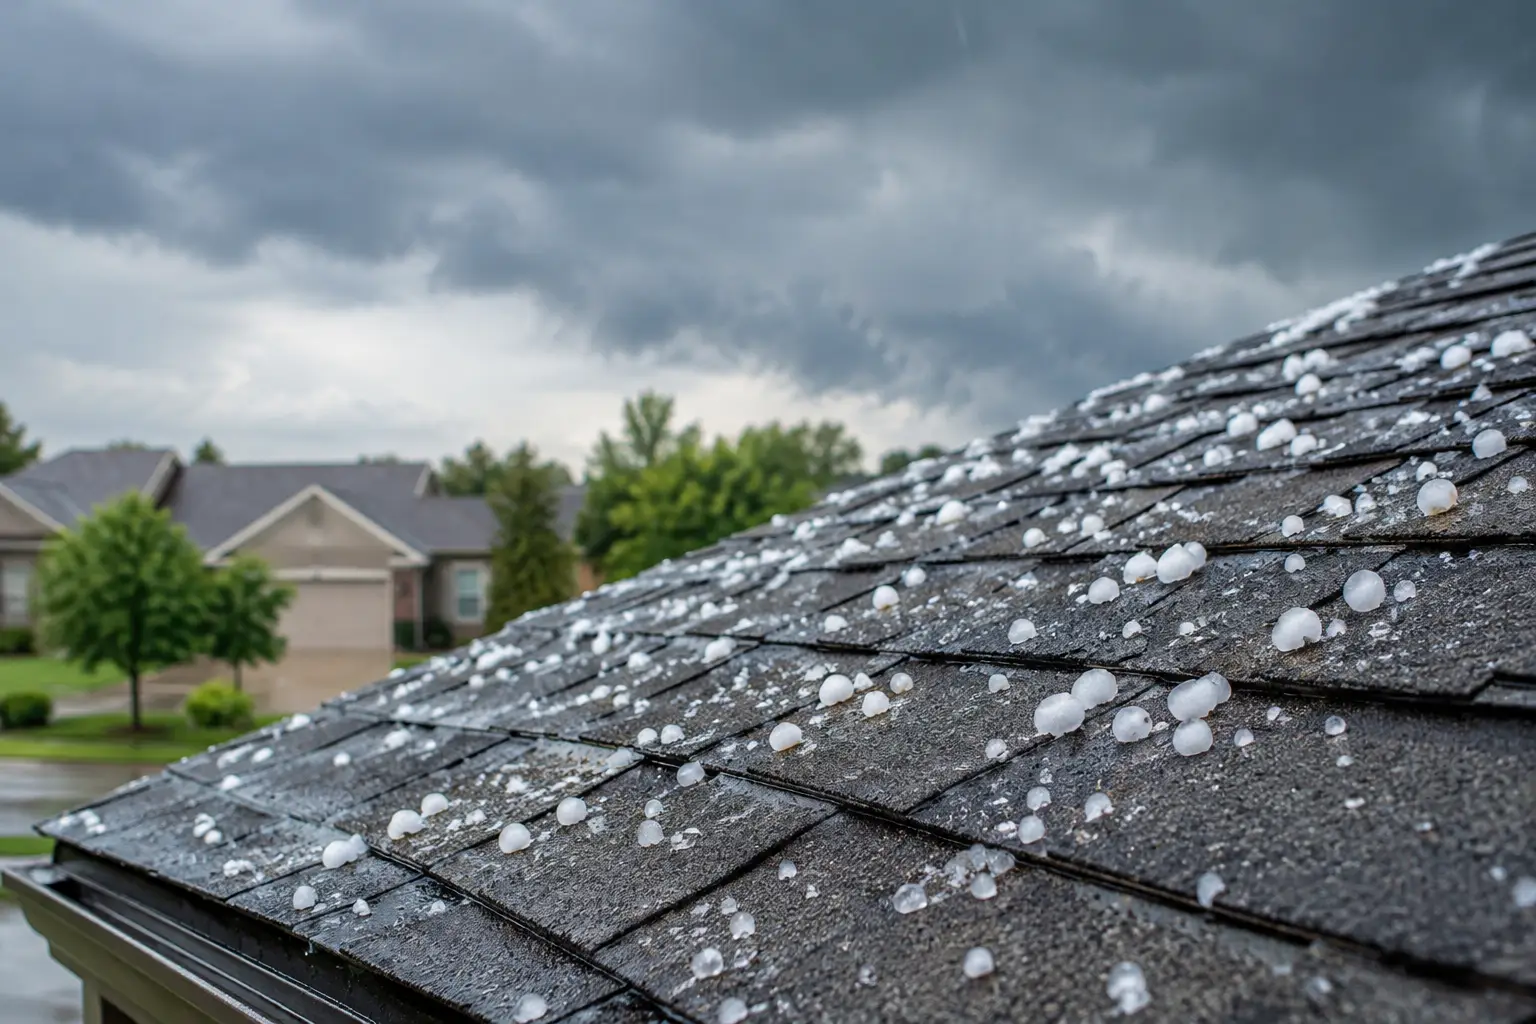
Storm damage is another concern. Hail can dent exposed metal and weaken protective coatings. Strong wind can lift shingles and pull flashing loose at edges or walls. Tree limbs and debris can bend components, clog valleys, or break the seal around penetrations.
Previous repair work also matters. A quick patch with roofing cement may slow a leak temporarily, but it is not always a lasting repair. Sealant has a role in roofing, yet it should support the flashing system rather than replace proper metal laps and integration with the roof covering.
On commercial roofs, flashing is often found at parapet walls, curbs, drains, HVAC penetrations, expansion joints, and transitions between roof sections. These areas face different demands than residential shingle roofs. Standing water, foot traffic, and equipment work can all affect their condition, so the repair approach needs to fit the roof system.
A Safe Guide to Roof Flashing Inspections
A ground-level look and attic check can help you spot concerns, but climbing onto a roof is not the right move for most property owners. Wet shingles, steep slopes, hidden weak spots, and nearby power lines make roof access risky. A professional inspection is the safer way to confirm what is happening.
From the ground, use binoculars if available and look for visibly shifted shingles, bent flashing, missing pieces, or debris around chimneys and valleys. After a storm, check the attic during daylight for wet spots, drips, or daylight showing through where it should not. Take clear photos of interior staining before it dries or is painted over.
A qualified roofer should inspect the surrounding roof materials, not just the obvious metal piece. The goal is to find the path of water and determine whether the issue is flashing, shingles, underlayment, decking, masonry, siding, or a combination of conditions.
Repair or Replacement: What Makes Sense?
A localized repair can make sense when the flashing issue is limited and the surrounding roofing is still in good shape. Replacing a cracked pipe boot, resecuring a small section of wall flashing, or correcting a single damaged area may protect the roof without requiring broader work.
Replacement becomes more practical when flashing problems are widespread, the roof is near the end of its service life, or repairs would require disturbing brittle and deteriorated shingles. If a reroof is planned soon, installing new flashing at the same time is usually the better value. Reusing old flashing can leave a new roof dependent on aging components.
For storm-related damage, document conditions before temporary repairs whenever possible. If water is actively entering the building, stopping further damage comes first. Then keep photos, notes, and invoices that may support an insurance claim. A roofing contractor can explain the observed damage and help you understand the scope of needed work, but the insurer determines coverage.
Keep Flashing Working Longer
Maintenance is straightforward: keep valleys and gutters clear, trim branches that scrape the roof, and schedule an inspection after severe weather or when you notice a leak. Do not cover questionable flashing with repeated layers of caulk and assume the issue is solved. A repair should shed water correctly and hold up through the next storm.
Cobra Contracting & Construction LLC helps homeowners, businesses, and property managers identify flashing concerns clearly, explain repair options, and move quickly when weather has exposed a problem. You deserve a direct answer about what needs attention and what can wait.
A small stain near a vent or chimney may be the first chance to prevent a much bigger repair. Address it while the problem is still on the roof, not after it has worked its way through the building.


Comments